Configuring Enquiry
This feature holds the parameter definitions of the enquiries used by the enquiry system. This section provides the procedural steps to create a new enquiry, search and edit an existing enquiry.
Creating Enquiry
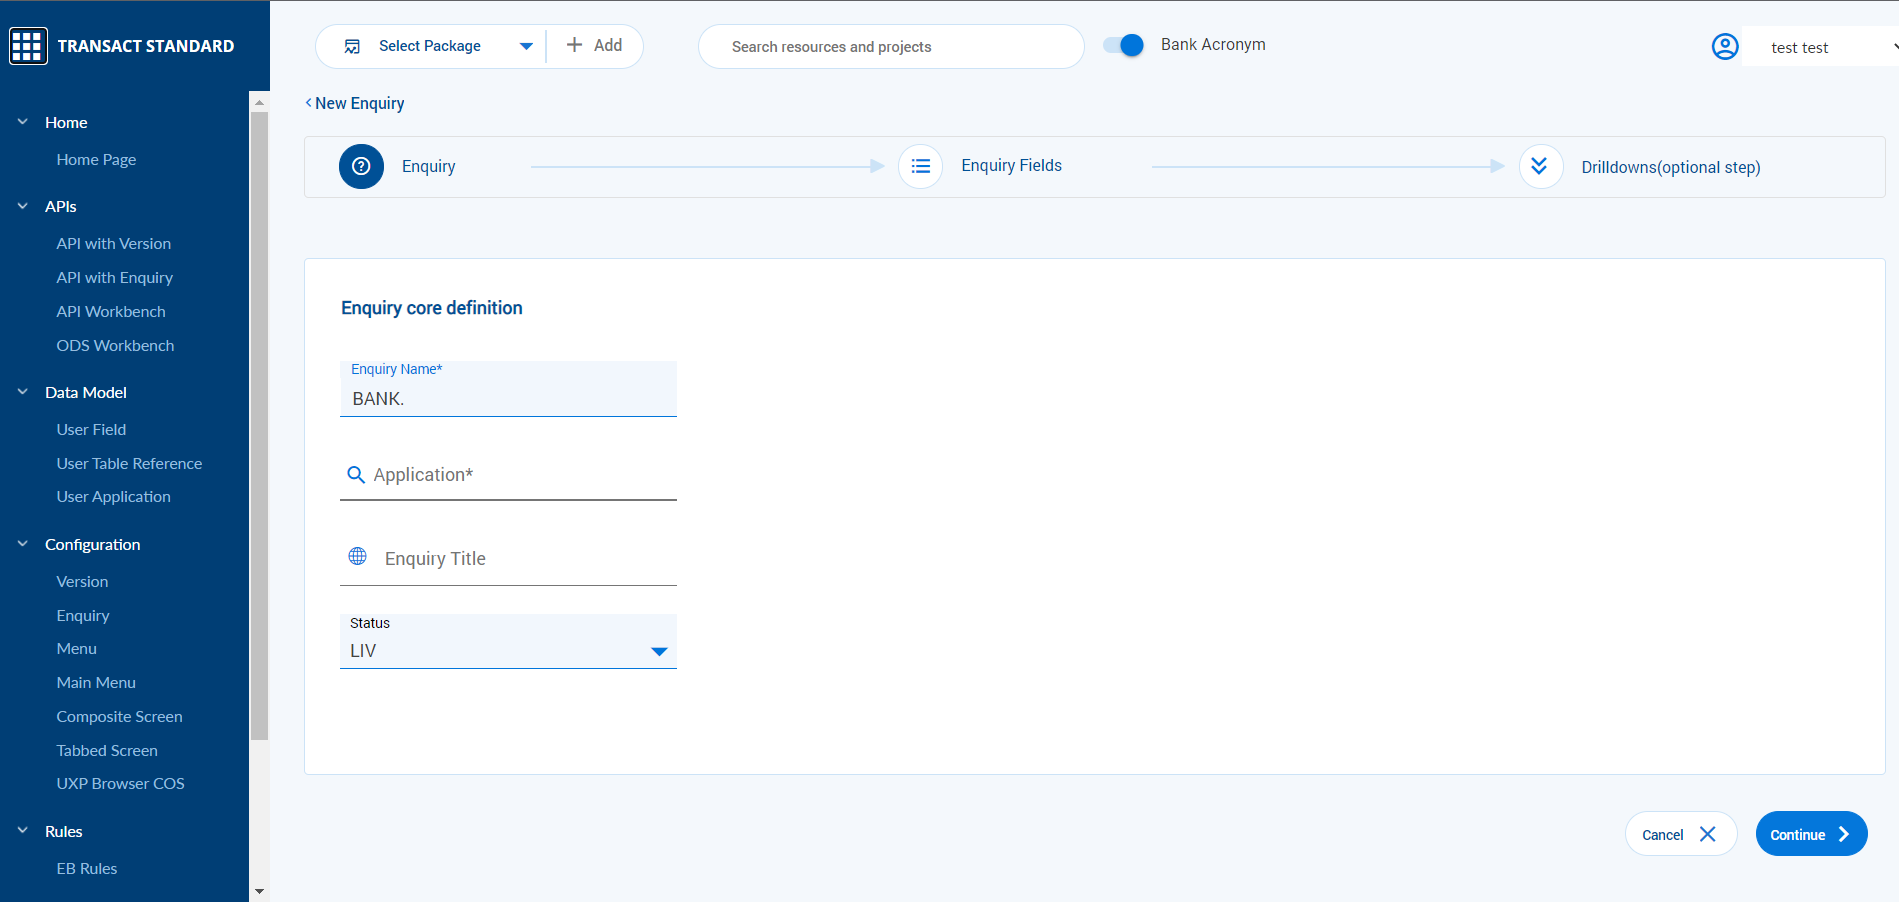
The version is creation has three stages—core definition, field selection and drill down.
To create a new enquiry,
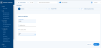
- Login as <<Role>>. From the Transact Standard dashboard’s left pane, click Configuration > Enquiry.
- Click Add New from the home page.
- Enter the Enquiry Name, Application, and Enquiry Title
- Enquiry Name is alphanumeric with special characters, such as “%”, “$”, “&”, “-“, “,” and “.”. "%". These characters can be used only in the position of the first character.
- Application provides content assist using which you can select a value.
- Enquiry Title indicates the title of the enquiry. Click
 to provide values in all Transact supported languages.
- Select the status of the enquiry from the Status dropdown. The default status is LIV.
- Click Continue to proceed to the next screen.
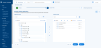
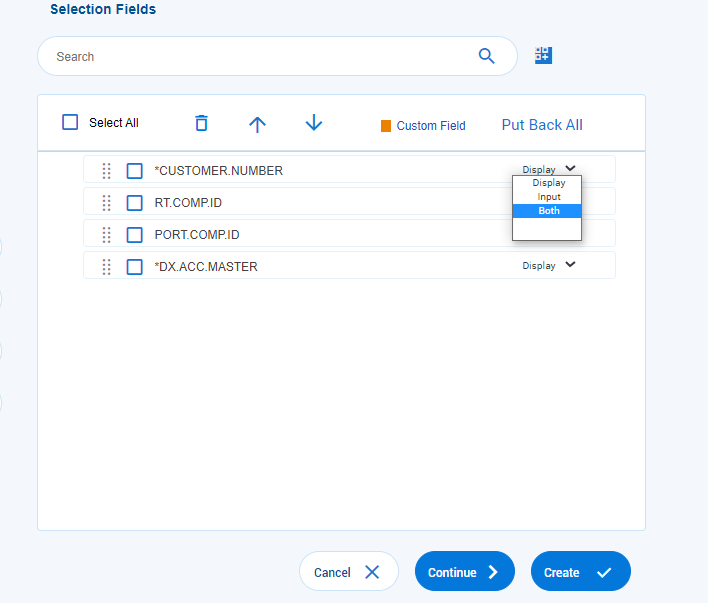
- Select the required fields from the left pane and move them to the right pane to include them in the new enquiry.
- Select whether the field is applicable only for user input (Input) or for both input and query results (Both) from the Display dropdown against each field.

- Click Continue to proceed to the next screen.
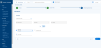
- Click either of the following:
- Create to create the enquiry.
- Continue to proceed to the next screen to create drill downs.
- Select the type of dropdown (Version, Enquiry or Application) from the Drill Down type dropdown.
- Version
- Select the Version Name and Fields using the search option.
- Select the action (See, Input, Process, or Verify) to be executed from the Function dropdown.
- Enquiry
- Select the Enquiry Name using the search option.
- Application
- Select the Application Name and Fields using the search option.
- Select the action (See, Input, Process, or Verify) to be executed from the Function dropdown.
- Version
- Select how the drilldown must be displayed in the UI (icon or label)
- Icon
- To use an icon that is already available, select the required icon from the Select Icon dropdown.
- To use a custom-made icon, provide the path where the icon is saved.
- Provide a tool tip (if any) in the Tool Tip field. Click to provide values in all Transact supported languages.
- Label
- Enter the link label in the Link Label field.
- Icon
- Click Create to create the version.


Editing Enquiry
To edit an existing enquiry,
- Login as <<Role>>. From the Transact Standard dashboard’s left pane, click Configuration > Enquiry.
- Search for the enquiry and make the necessary changes.
- Validate and commit the changes to the database.


In this topic
