Configuring Temenos Workbench
This section provides details about the configuration of Transact area and Keycloak Authentication Service.
When downloading a new release of Temenos Workbench you need to,
- Modify the global variables in the …\workbench-cli-202010.0.2\appJs.properties file according to the system requirements .
- Run the deploy.cmd file after placing the new dsfworkbench-202010.0.2.zip file in …\workbench-cli-202010.0.2.
If you open Temenos Packager or Rules Manager in Temenos Workbench using Chrome and get an application error, you need to change the default behaviour of cookies in Chrome.
DSF’s Package Manager and Rule Manager are embedded in the DSF workbench, and requests are made cross-site (DSF workbench to DSF), which is by default not supported by Chrome.
To enable the cross-site support in Chrome, you need to,
- Update appJs.properties with AppServer.host.url=workbench:9089
- Execute C:\Temenos\WorkbenchDev\workbench-cli-DEV.0.0-SNAPSHOT\deploy.cmd
- Clean up Chrome cache (chrome://settings/clearBrowserData?search=cache)
During the installation process, you need to create two users, one each for,
- Quantum server console on which Temenos Workbench is deployed and
- Temenos Workbench login
Configuring Transact Area
This section explains all the configurations or installations required to setup Transact in Workbench.
Temenos Packager
Refer the Temenos Workbench Installation guide for the configuration of Temenos Packager.
Transact Explorer Application
For the Transact Explorer screens to run in Temenos Workbench, you need to deploy tb-server.war file (delivered with Temenos Workbench) in the application server (JBoss, WebSphere and so on).
Linking Application Server and Database with Quantum On-Prem Fabric
You need to link Quantum Fabric with an application server (JBoss, Tomcat and so on) and database (Maria DB, MySQL and so on) based on the requirements.
To link the application server and database,
- Install the Quantum Fabric in the Windows machine. Refer Quantum Fabric Install Guide for Windows to install Quantum Fabric V9.
- Login to the Fabric console using valid credentials. For example, sample URL for console is http://<host>:<port>/mfoconsole.
- Start the application server and database that needs to be associated with the fabric.
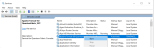
- Click ADD NEW from the console dashboard.

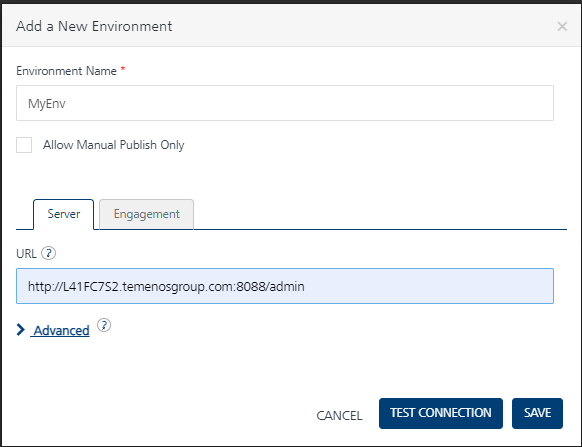
- Enter the Environment Name (for example, MyEnv) and http://<host>:<port> in URL.
- Click TEST CONNECTION to verify the added server.
- Click SAVE to save the configurations.


Configuring Keycloak Authentication Service
Keycloak authentication enables single sign-on authentication to the application. This section provides the details on how to set up the Keycloak server and configure Keycloak client.
Setting up Keycloak Server
To set up the Keycloak server,
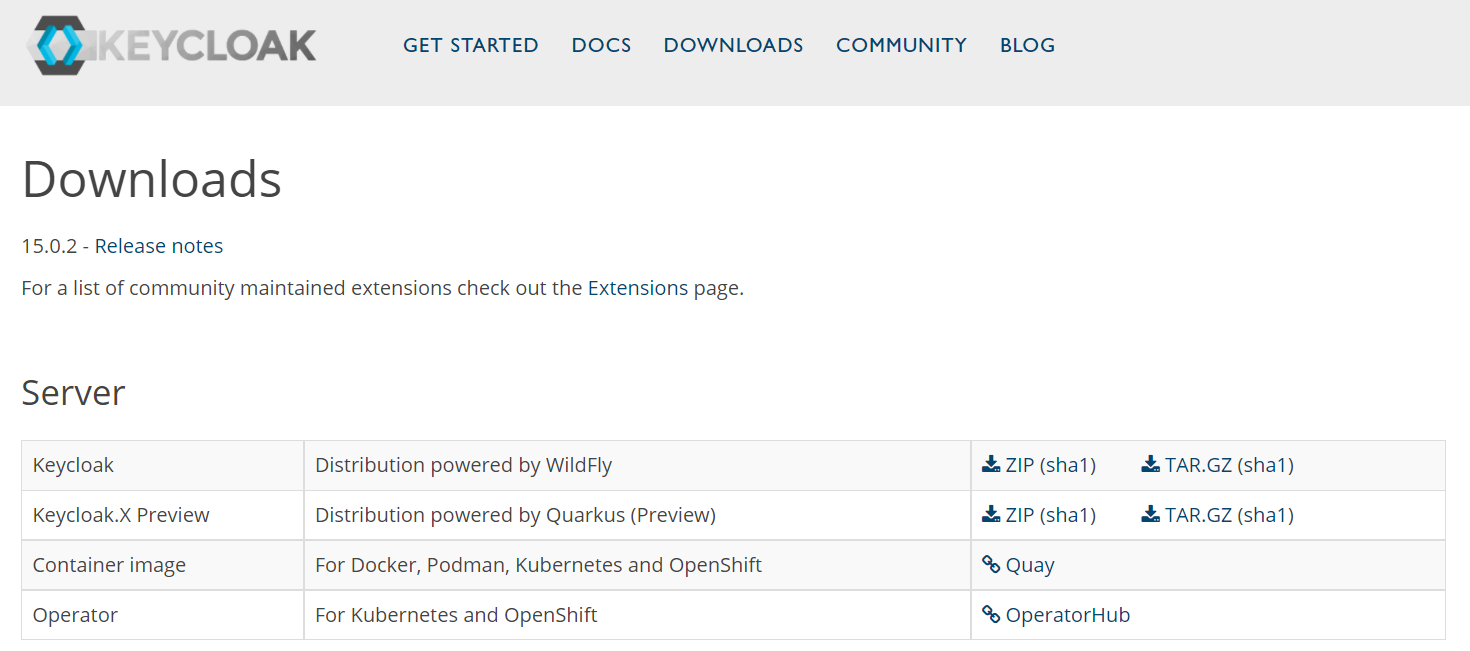
- Go to https://www.keycloak.org/downloads folder and download the latest ZIP file from the server section, and extract the same.
- Go to \keycloak-11.0.3\standalone\configuration
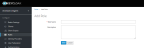
- Open standalone.xml and modify the ports (as highlighted in the below screen capture). This port is different from that of the Fabric and Application server.

- Go to <Keycloak_Installation_Folder>\bin and run the standalone.bat file to start the JBoss server. The Keycloak is set up successfully.

Configuring Keycloak Client
To configure Keycloak client,
- Start the JBoss server and open the Keycloak web application using http://localhost:8180/auth/.
- Login to the administration console as admin/admin.
- Create a new client for the Temenos Workbench application that needs to be authenticated through Keycloak.
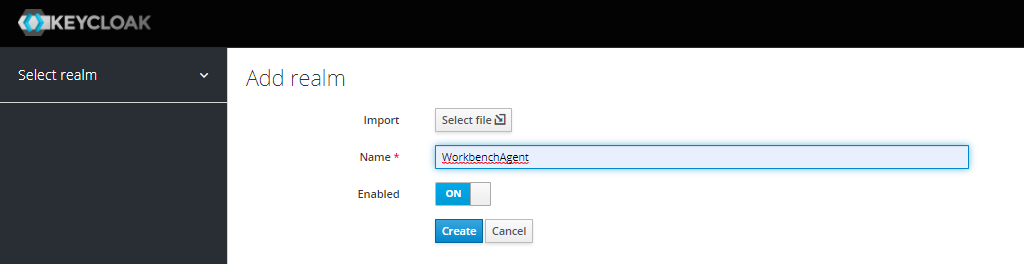
- Open Keycloak and click Add Realm.

- Enter WorkbenchAgent in Name and click Create.

- Open the created realm and click Realm Settings > General.
- Enter Name and Display name and click Save.

- Click Clients > Settings and enter the following values in the respective fields.
- Client ID: Workbench
- Client Protocol: openid-connect
- Access Type: public
- Enter the following configurations according to the host and port you have defined in the Fabric.
- Root URL: http://<dns_name>:<port>/apps/dsfworkbench
- Valid redirect URLs: http://<dns_name>:<port>/authService/100000002/oauth2/callback. This is the URL provided by the OAuth2.0 Identity Service in Fabric.
- Base URL: http://<dns_name>:<port>/apps/dsfworkbench
- Admin URL: http://<dns_name>:<port>/apps/dsfworkbench
- Web Origins: http://<dns_name>:<port>
NOTE: In the above configurations, <dns_name> can be hostname/machinename/ipaddress/localhost and <port> refers to the port on which your Fabric is running. - Enter RS256 in Access Token Signature Algorithm and ID Token Signature Algorithm under Fine Grain OpenID Connect Configuration.


- Click Roles > Realm Roles and click Add Role.
- Enter WorkbenchAdmin as Role and click Save.
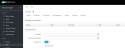
- Click Users > Details to create a new Transact user that has to be authenticated through Keycloak. For example, INPUTT can be set as the user.
- Enter the required field details as shown in the below screen capture and click Save.

- Enter the password for the user created in the Credentials tab.
- Map the WorkbenchAdmin role to the user created in the Role Mappings tab.
- Repeat the steps to create a developer user and set the WorkbenchDeveloper role to the user.
Keycloak is configured successfully. You can use the credentials configured in Keycloak to login to Temenos Workbench.


In this topic
